Today’s Goals:
- Practice setting up a webpage with a header, left, and right sections with CSS floats
Today’s Featured Site:
- https://cewe-photoworld.com/how-big-is-snapchat/– Guess how many photos are shared on Snapchat every second?
CSS layouts
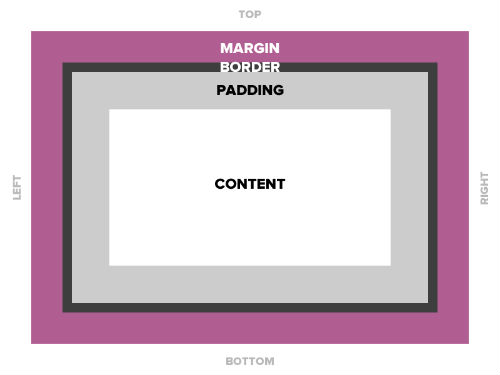
- Let’s review the box model (margins, border, padding)
- Let’s review positioning (static, relative, absolute, and fixed)

- In addition to using positioning properties, we can float content to the left or right and control how the other content flows around it.
- To begin, let’s set up a new page in Notepad++ with opening and closing tags for html, head, title, and body. Don’t forget to add the style sheet tags in the head section!
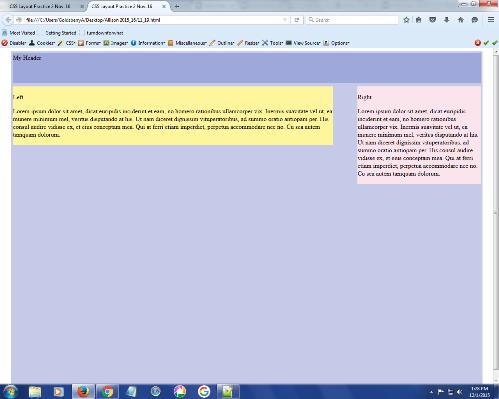
- We’re going to set up a 2-column page with a header and footer that adjusts itself when we shrink the browser window.
- Let’s set up some div areas in our style sheet for a wrapper and header, left, right, and footer sections. We’ll add some properties soon.
- Let’s now add the corresponding div tags for each in the HTML. Let’s add paragraph tags in all of the sections and label each header, left, right, and footer. Let’s also grab a paragraph from here and add it to the left and right sections.
- Now grab some code from here for your style sheet for the wrapper.
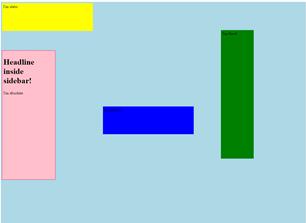
- Let’s give the header a width of 100%, margins of 0px, and a background color of green.
- Now, let’s float the left section to the left with float: left. Let’s also add padding of 3px, a yellow background color, and a width of 60%.
- To the right section add float: right, padding 3px, background color blue, and width 30%.
- Now, how wide should the footer be? What about the margins? Let’s make it pink. Also, how can we get it to appear below our left and right sections?